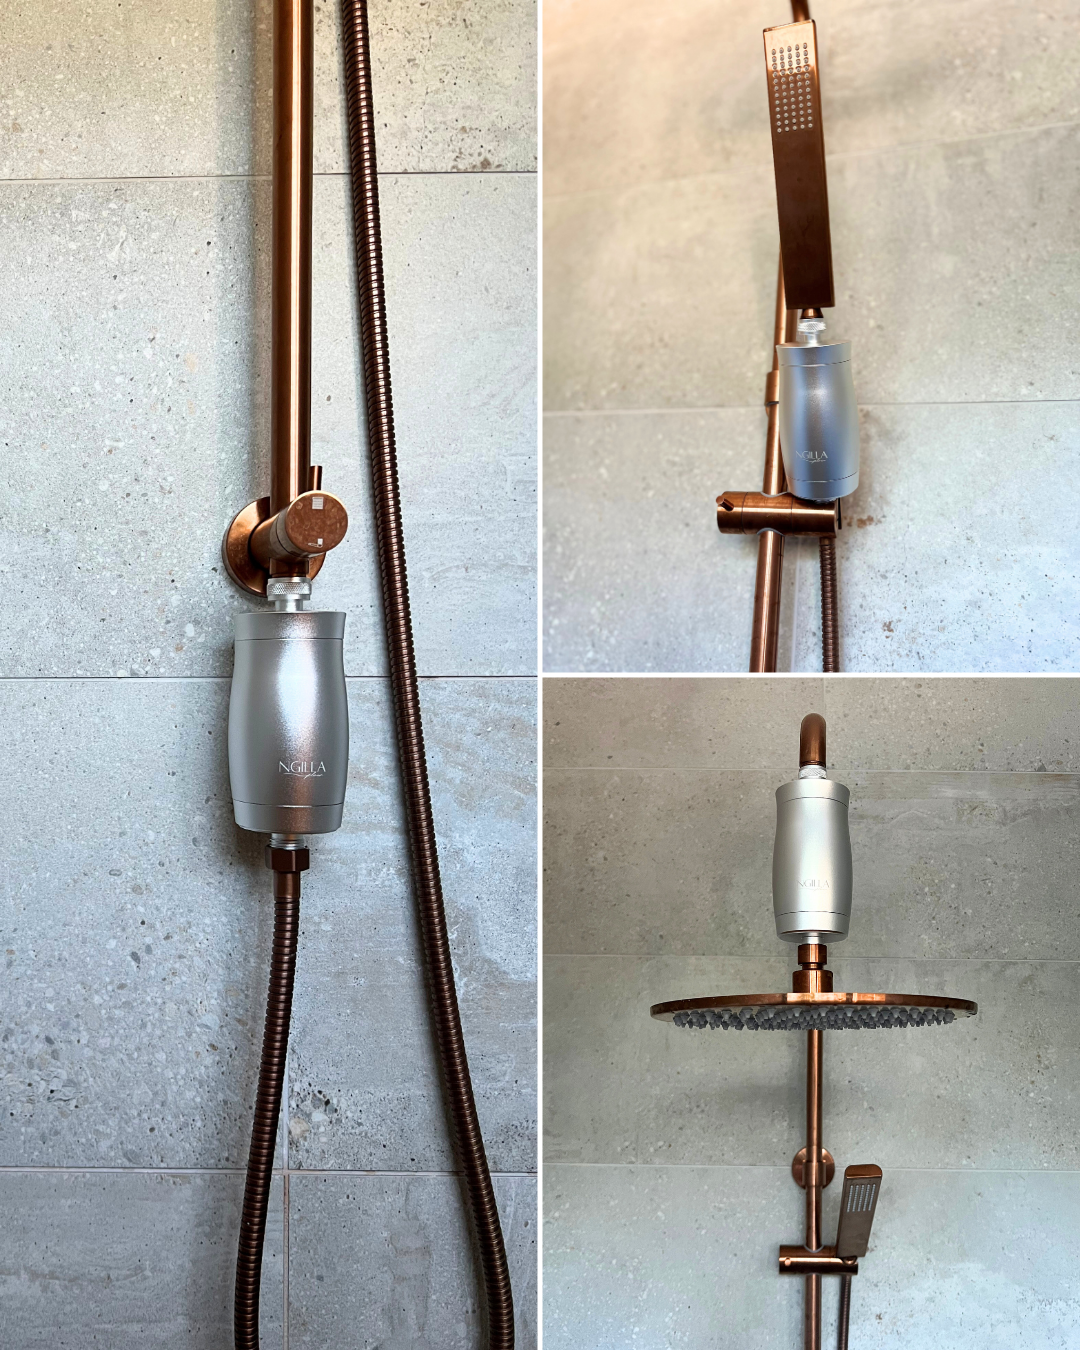
Step 1: Remove Your Shower Head
Unscrew your existing shower head from the shower arm. If it’s tight, use a 6-inch or 8-inch adjustable wrench for extra grip — just be careful not to scratch the surface.
Step 2: Apply Ngilla Tape
Wrap Ngilla Tape around the shower arm thread 3–5 times to create a tight seal and help prevent any leaks.
Step 3: Attach the Filter
Screw the Ngilla Flow shower filter onto the shower arm. Twist clockwise until secure, but avoid over-tightening.
Step 4: Reattach the Shower Head
If needed, wrap Ngilla Tape around the filter’s thread before reattaching your shower head. Tighten by hand — over-tightening can cause damage.
Step 5: Flush the Filter
Run water through the filter for 5–10 seconds to activate the Vitamin C and rinse out any loose particles.
Your filter is now ready — enjoy your elevated, skin-loving shower.


